Repairing Your Driveway
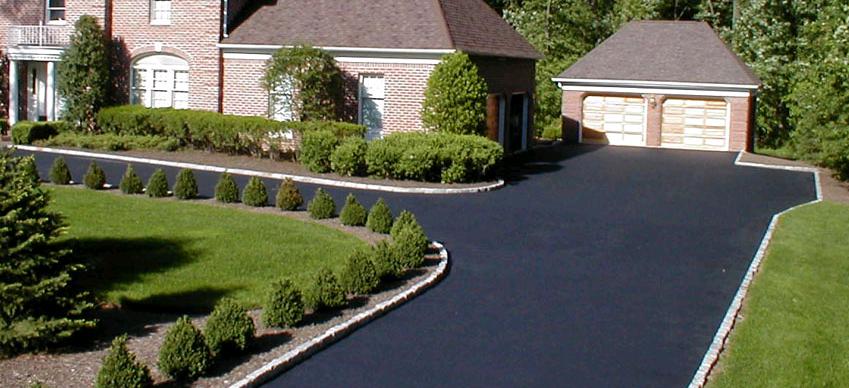
Driveway Design
There are some ways to make repairs to your driveway as long as you keep up with the routine maintenance. By properly maintaining it can be possible to save yourself a lot of headache and expenses later down the road. For a driveway that is in very bad disrepair it is usually wiser to contact a driveway repair professional in South Jersey. But there are some general repairs that make good DIY projects for the NJ homeowner. Repairing driveways that are concrete or asphalt are very similar types of work even though there are a few differences.
Basic Steps to Repairing Asphalt or Concrete Driveways
The first thing you need to do before mending a driveway is to pull any weeds that are growing up through the cracks. Simply pull them up and discard them. Then use a water hose with a relatively strong sprayer to clean the cracks out real good. At this point, it is a good idea to apply some weed killer so that no weeds grow back. If the crack is real deep you will need to pour in about one fourth of an inch of sand and tamp it down into place real good. Once the sand is tamped in really good and solid, depending on your driveway material pour concrete into the hole. For for an asphalt driveway pour in patching compound. This will need to be given time to dry and to cure before a sealant can be applied. Remember that these instructions are for minor cracks which are 2 inches wide or less. Other types of damages and more serious damages should be repaired by a professional contractor.
Repairing an Asphalt Driveway
It can be difficult finding the patching compound for making an asphalt repair. Hot asphalt is not available and of course should not be used by those who are not professionals. But most home improvement stores do have patch kits that can be used to repair asphalt driveways or walkways. When the cracks are less than a half inch wide you can purchase a tube of “crack-filler.” These are easily available at local home improvement stores. For cracks that are more than a half an inch but less than 2 inches, use a patching compound which is sold in either a can or a bag. Be sure to read the instructions on the product’s label and follow them closely to ensure that the job is done correctly. The label should also explain that the temperature has to be warm enough for the patching compound to work properly.
Repairing a Concrete Driveway
Prepare the surface to be repaired by removing any weeds or debris. For narrow cracks in the concrete driveway you can fill them in with masonry crack filler. This substance is in a cartridge which makes it easy to apply to the damaged area. In most cases you can use a regular caulking gun to apply the crack sealer. They can also be repaired using concrete patching compound which can be applied with a putty knife. Cracks that are wider will take a little bit more work. You will first want to “key” the crack which means that you will use a chisel or hammer to undercut the crack’s edges. The point is to make the bottom of the crack wider than the surface. This will make the repair more permanent. Clean and wash the area with a wire brush and a fresh stream of water. Once the crack is clean, mix the vinyl patching compound according to the specifications. Then you will need to trowel the compound into the crack. Tamp it carefully to remove any air pockets; smooth it out and let it dry.
